
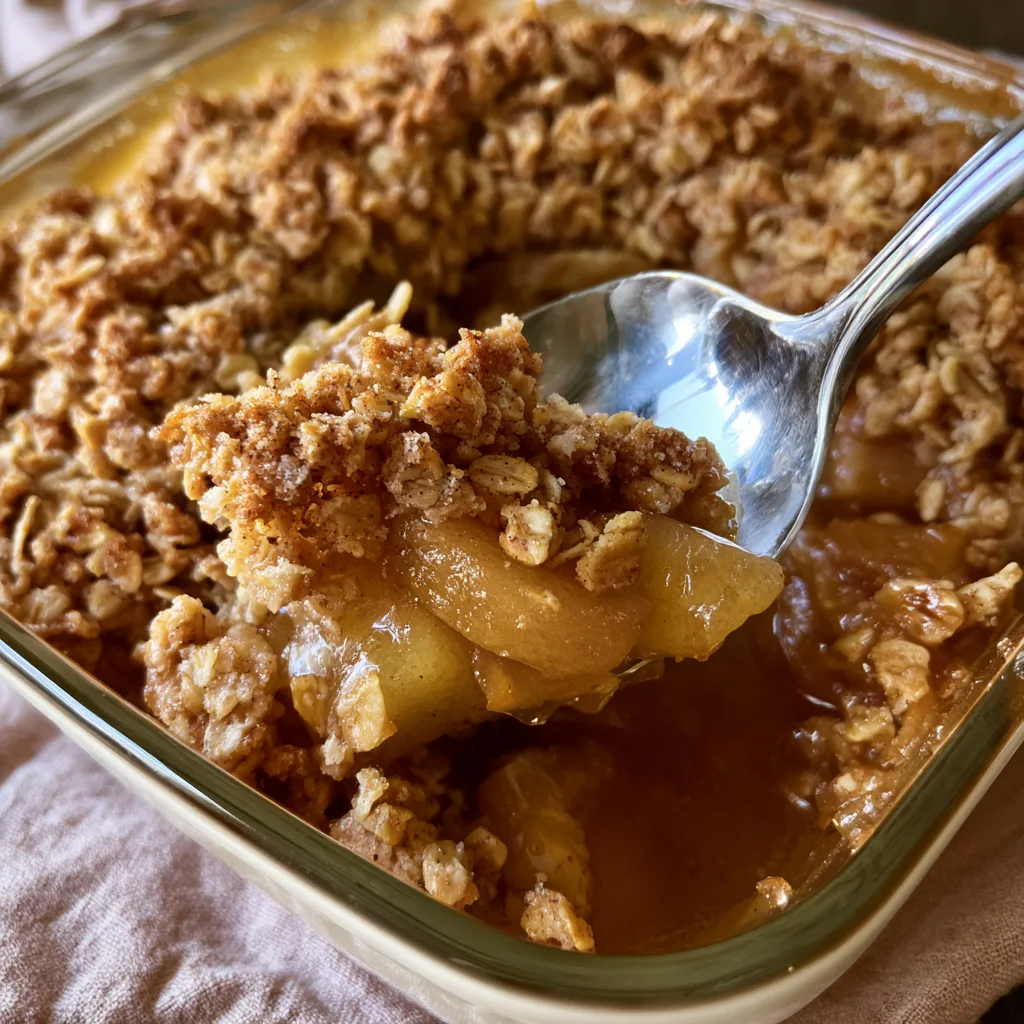
Introduction to Apple Crisp
There’s something magical about the aroma of baked apples wafting through the kitchen, isn’t there? Apple crisp is one of those delightful desserts that feels like a warm hug on a chilly day. As a busy mom, I know how precious time can be, and this recipe is a quick solution for those hectic evenings when you want to impress your loved ones without spending hours in the kitchen. With just a handful of ingredients, you can create a comforting dessert that brings smiles and satisfaction to the whole family. Trust me, this apple crisp will become a cherished favorite!
Why You’ll Love This Apple Crisp
This apple crisp is not just easy to make; it’s a delightful treat that bursts with flavor. In just about 50 minutes, you can whip up a dessert that feels like a special occasion. The combination of tender, spiced apples and a crunchy topping is simply irresistible. Plus, it’s a fantastic way to use up those apples sitting in your kitchen. Trust me, your family will be asking for seconds!
Ingredients for Apple Crisp
Gathering the right ingredients is the first step to creating a delicious apple crisp. Here’s what you’ll need:
- Sliced Apples: Use a mix of sweet and tart apples for depth of flavor. Granny Smith and Honeycrisp are my favorites!
- Brown Sugar: This adds a rich sweetness and a hint of caramel flavor. You can substitute with coconut sugar for a healthier option.
- Rolled Oats: They provide that delightful crunch. Quick oats can work in a pinch, but rolled oats give a better texture.
- All-Purpose Flour: This helps bind the topping together. If you’re gluten-free, almond flour or oat flour can be great alternatives.
- Unsalted Butter: Melted butter brings richness to the topping. You can use coconut oil for a dairy-free version.
- Cinnamon: A must-have spice that enhances the apple flavor. Feel free to add more if you love that warm spice kick!
- Nutmeg: Just a pinch adds a lovely warmth. If you don’t have nutmeg, you can skip it or use allspice instead.
- Salt: A little salt balances the sweetness and enhances all the flavors.
For exact measurements, check the bottom of the article where you can find everything listed for easy printing. Happy cooking!
How to Make Apple Crisp
Now that you have your ingredients ready, let’s dive into the steps to create this delightful apple crisp. Each step is simple, and I promise you’ll feel like a kitchen superstar by the end!
Step 1: Preheat the Oven
First things first, preheat your oven to 350°F (175°C). Preheating is crucial because it ensures even baking. You want that perfect golden topping and tender apples. So, while you prepare the rest, let the oven warm up!
Step 2: Prepare the Apples
Next, grab those apples and slice them thinly. Aim for about 1/4-inch thick slices for even cooking. In a large bowl, toss the sliced apples with cinnamon, nutmeg, and salt. This seasoning brings out the natural sweetness of the apples. Trust me, your kitchen will smell heavenly!
Step 3: Assemble the Apple Mixture
Now, spread the seasoned apple mixture evenly in a greased baking dish. Make sure the apples are layered nicely, so every bite is packed with flavor. This is where the magic begins, as the apples will soften and release their juices while baking.
Step 4: Make the Crunchy Topping
In another bowl, combine the brown sugar, rolled oats, all-purpose flour, and melted butter. Mix until everything is well combined and crumbly. This topping is what makes the apple crisp so irresistible! If you want an extra crunch, consider adding some chopped nuts or coconut flakes.
Step 5: Combine and Bake
Now, sprinkle that crunchy topping generously over the apples. Make sure to cover them well; we want every bite to be delicious! Pop the baking dish into the preheated oven and bake for 30-35 minutes. You’ll know it’s done when the apples are tender and the topping is golden brown. Just imagine that aroma filling your home!
Step 6: Cool and Serve
Once it’s out of the oven, let your apple crisp cool for about 10 minutes. This step is important because it allows the juices to settle. Serve it warm, and if you’re feeling indulgent, add a scoop of vanilla ice cream on top. It’s the perfect finishing touch!
Tips for Success
- Use a mix of apple varieties for a more complex flavor.
- Don’t skip the cooling time; it helps the crisp set up nicely.
- For a deeper flavor, add a splash of lemon juice to the apples.
- Store leftovers in an airtight container to keep them fresh.
- Feel free to double the recipe for gatherings; it’s always a hit!
Equipment Needed
- Baking Dish: A 9×13 inch dish works perfectly. You can also use a cast-iron skillet for a rustic touch.
- Mixing Bowls: Have a couple of medium-sized bowls on hand for mixing ingredients.
- Knife and Cutting Board: Essential for slicing those apples with ease.
- Measuring Cups and Spoons: Accurate measurements ensure the best results.
Variations of Apple Crisp
- Berry Apple Crisp: Add a cup of fresh or frozen berries like blueberries or raspberries for a fruity twist.
- Nutty Crunch: Mix in chopped walnuts or pecans into the topping for added texture and flavor.
- Gluten-Free Option: Substitute all-purpose flour with almond flour or gluten-free oats to make it suitable for gluten-sensitive diets.
- Spiced Apple Crisp: Experiment with spices like ginger or cardamom for a unique flavor profile.
- Maple Syrup Sweetener: Replace brown sugar with maple syrup for a natural sweetness and a hint of maple flavor.
Serving Suggestions for Apple Crisp
- Serve warm with a generous scoop of vanilla ice cream for a classic pairing.
- Drizzle with caramel sauce for an extra touch of sweetness.
- Pair with a cup of hot tea or coffee for a cozy dessert experience.
- Garnish with fresh mint leaves for a pop of color.
FAQs about Apple Crisp
As I’ve shared my love for apple crisp, I know you might have some questions. Here are a few common ones that pop up, along with my answers to help you on your baking journey!
Can I use frozen apples for apple crisp?
Absolutely! Frozen apples can work in a pinch. Just make sure to thaw and drain any excess moisture before mixing them with the spices. This will help keep your apple crisp from getting too soggy.
What type of apples are best for apple crisp?
I recommend using a mix of sweet and tart apples. Granny Smith and Honeycrisp are my go-to choices. They hold their shape well and provide a lovely balance of flavors.
Can I make apple crisp ahead of time?
Yes, you can prepare the apple mixture and topping separately, then store them in the fridge. When you’re ready to bake, just assemble and pop it in the oven. It’s a great time-saver!
How do I store leftover apple crisp?
Store any leftovers in an airtight container in the refrigerator. It should stay fresh for about 3-4 days. Just reheat in the oven for a few minutes before serving to bring back that delightful crunch!
Can I add other fruits to my apple crisp?
Definitely! Feel free to mix in berries, peaches, or even pears. Just remember to adjust the sugar based on the sweetness of the additional fruits. It’s a fun way to experiment with flavors!
Final Thoughts
Making apple crisp is more than just baking; it’s about creating memories in the kitchen. The joy of watching my family gather around the table, eagerly waiting for that first warm bite, fills my heart with happiness. This recipe is a reminder that simple ingredients can lead to extraordinary moments. Whether it’s a cozy family dinner or a gathering with friends, this apple crisp brings everyone together. So, roll up your sleeves, embrace the delightful aromas, and let this dessert become a cherished part of your family traditions. Trust me, you’ll be making it again and again!
Print
Apple Crisp: Discover the Secret to Perfect Crunch!
- Total Time: 50 minutes
- Yield: 8 servings 1x
- Diet: Vegetarian
Description
A delicious and easy-to-make dessert featuring baked apples topped with a crunchy oat and brown sugar mixture.
Ingredients
- 6 cups of sliced apples
- 1 cup of brown sugar
- 1 cup of rolled oats
- 1/2 cup of all-purpose flour
- 1/2 cup of unsalted butter, melted
- 1 teaspoon of cinnamon
- 1/4 teaspoon of nutmeg
- 1/4 teaspoon of salt
Instructions
- Preheat the oven to 350°F (175°C).
- In a large bowl, mix the sliced apples with cinnamon, nutmeg, and salt.
- Spread the apple mixture evenly in a greased baking dish.
- In another bowl, combine brown sugar, rolled oats, flour, and melted butter.
- Sprinkle the oat mixture over the apples.
- Bake for 30-35 minutes or until the apples are tender and the topping is golden brown.
- Let it cool slightly before serving.
Notes
- Serve warm with vanilla ice cream for an extra treat.
- Feel free to mix different types of apples for varied flavor.
- Store leftovers in an airtight container in the refrigerator.
- Prep Time: 15 minutes
- Cook Time: 35 minutes
- Category: Dessert
- Method: Baking
- Cuisine: American
Nutrition
- Serving Size: 1 serving
- Calories: 250
- Sugar: 20g
- Sodium: 150mg
- Fat: 10g
- Saturated Fat: 5g
- Unsaturated Fat: 3g
- Trans Fat: 0g
- Carbohydrates: 38g
- Fiber: 3g
- Protein: 2g
- Cholesterol: 15mg