
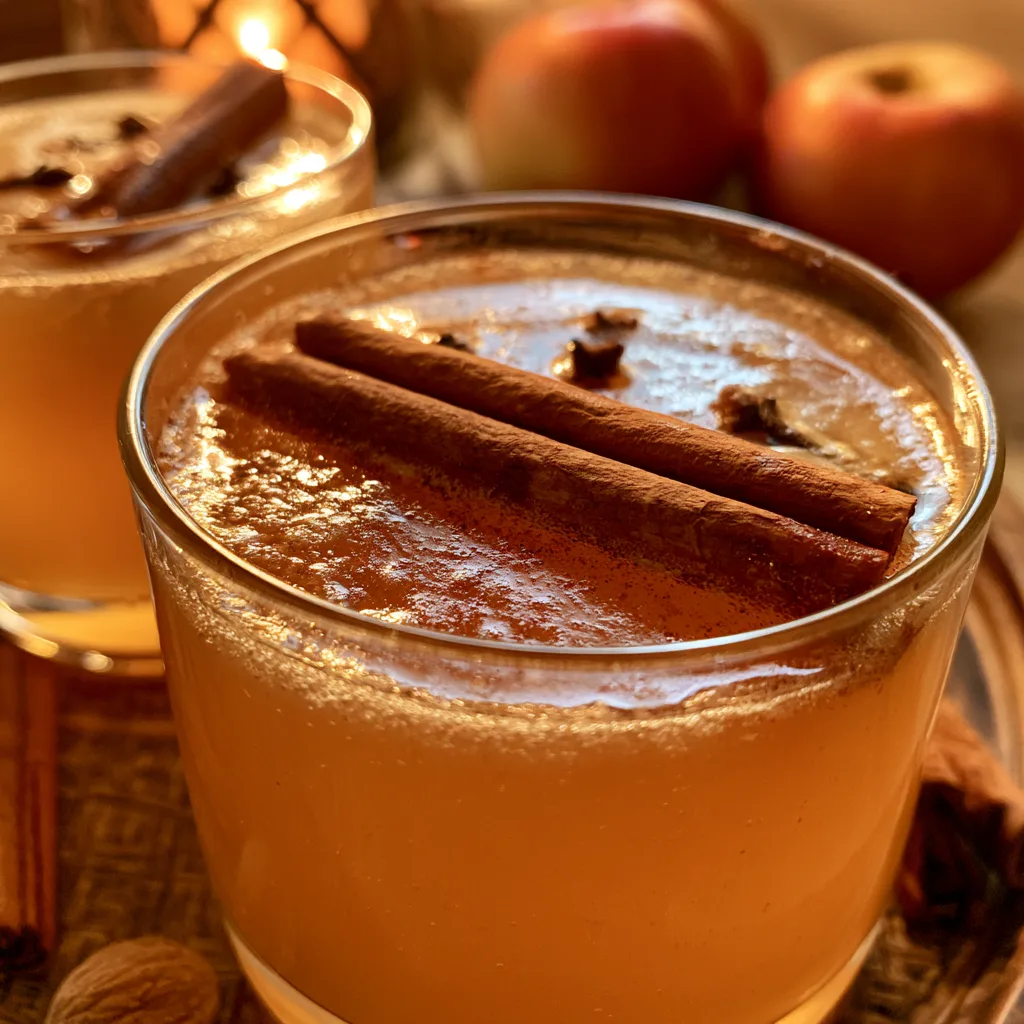
Introduction to Homemade Apple Cider
As the leaves turn and the air gets crisp, there’s nothing quite like the warmth of a cozy drink. Homemade apple cider is a delightful way to embrace the fall season. It’s not just a beverage; it’s a hug in a mug! I know how busy life can get, especially for us moms and professionals. This recipe is a quick solution for those chilly evenings when you want to impress your loved ones without spending hours in the kitchen. So, grab your favorite apples, and let’s create something delicious together!
Why You’ll Love This Homemade Apple Cider
This homemade apple cider is not only easy to make, but it also fills your home with the most inviting aroma. In just a couple of hours, you can create a warm, comforting drink that tastes like a hug from autumn itself. Plus, it’s a fantastic way to use up those apples sitting in your kitchen. Your family will love it, and you’ll feel like a culinary superstar!
Ingredients for Homemade Apple Cider
Gathering the right ingredients is the first step to crafting your homemade apple cider. Here’s what you’ll need:
- Medium Apples: Aim for a mix of sweet and tart varieties. Think Granny Smith, Honeycrisp, or Fuji. Each type adds its unique flavor, making your cider a delightful blend.
- Sugar (optional): Depending on your taste, you can add sugar to enhance sweetness. If you prefer a more natural flavor, feel free to skip it!
- Cinnamon: This warm spice is a must for that cozy fall flavor. It brings a comforting aroma that fills your kitchen.
- Nutmeg: Just a pinch adds depth and a hint of earthiness. It’s like a secret ingredient that elevates your cider.
- Whole Cloves: These tiny powerhouses pack a punch of flavor. They add a warm, spicy note that complements the apples beautifully.
- Water: Essential for cooking down the apples and extracting all that delicious juice. Use filtered water for the best taste.
For exact measurements, check the bottom of the article where you can find everything listed for easy printing. Feel free to get creative with your spices or even add a splash of orange juice for a citrus twist!
How to Make Homemade Apple Cider
Step 1: Prepare the Apples
Start by washing your apples thoroughly under cool running water. This removes any dirt or wax. Next, core the apples to get rid of the seeds and tough center. Don’t worry about peeling them; the skin adds flavor and color! Once cored, cut the apples into quarters. This helps them cook down faster and release their juices. I love using a mix of apples for a more complex flavor. The more variety, the better your homemade apple cider will taste!
Step 2: Combine Ingredients in a Pot
Now, grab a large pot and place all your apple quarters inside. Add enough water to cover the apples completely. This is where the magic begins! Next, sprinkle in your sugar, cinnamon, nutmeg, and whole cloves. Stir everything together gently. The spices will infuse the cider with warmth and depth. If you’re feeling adventurous, you can even toss in a few orange peels for a zesty twist. It’s all about making this homemade apple cider your own!
Step 3: Boil and Simmer
Bring the mixture to a rolling boil over medium-high heat. Once it’s bubbling, reduce the heat to low and let it simmer. You’ll want to let it simmer for about two hours. This slow cooking allows the flavors to meld beautifully. Keep an eye on it, and stir occasionally to prevent sticking. The aroma will fill your kitchen, making it feel like fall has arrived early. Trust me, you’ll want to savor this moment!
Step 4: Mash the Apples
After two hours, it’s time to release all that delicious juice! Using a potato masher, gently mash the apples in the pot. This step is crucial as it helps extract every last drop of flavor. Don’t be shy; really get in there! The apples will break down, and the mixture will become a lovely, fragrant mush. It’s like a mini workout, and the smell is absolutely heavenly. Your homemade apple cider is almost ready!
Step 5: Strain the Mixture
Now comes the fun part—straining! Grab a fine mesh sieve or cheesecloth and place it over a large bowl or pitcher. Carefully pour the apple mixture into the sieve, allowing the liquid to flow through while catching the solids. Use a spoon to press down on the apple mush to extract even more juice. This step ensures your cider is smooth and free of any chunky bits. You’ll be left with a beautiful, golden liquid that’s just begging to be enjoyed!
Step 6: Serve and Enjoy
Your homemade apple cider is finally ready! You can serve it warm for a cozy treat or chill it in the fridge for a refreshing drink. I love pouring it into mugs and garnishing with a cinnamon stick for that extra touch. It’s perfect for gatherings or simply enjoying on a quiet evening. Don’t forget to share it with family and friends; they’ll be impressed by your culinary skills. Cheers to a delicious fall beverage!
Tips for Success
- Use a mix of apple varieties for a more complex flavor.
- Adjust the spices to suit your taste; don’t be afraid to experiment!
- For a sweeter cider, add sugar gradually and taste as you go.
- Make a larger batch and freeze leftovers for later enjoyment.
- Serve with a slice of apple pie for the ultimate fall experience!
Equipment Needed
- Large Pot: A sturdy stockpot works best, but any large pot will do.
- Potato Masher: If you don’t have one, a fork can also do the trick.
- Fine Mesh Sieve or Cheesecloth: A colander can be used in a pinch.
- Bowl or Pitcher: Any large container will work for collecting the cider.
Variations of Homemade Apple Cider
- Spiced Apple Cider: Add a few slices of fresh ginger or a dash of allspice for an extra kick of warmth.
- Maple Apple Cider: Substitute sugar with pure maple syrup for a rich, earthy sweetness that pairs beautifully with apples.
- Berry-Infused Cider: Toss in a handful of fresh or frozen berries, like cranberries or blueberries, for a fruity twist.
- Alcoholic Cider: For an adult version, add a splash of bourbon or rum to your warm cider for a cozy cocktail.
- Herbal Cider: Infuse your cider with fresh herbs like rosemary or thyme for a unique flavor profile.
Serving Suggestions for Homemade Apple Cider
- Pair your cider with warm cinnamon rolls for a delightful breakfast treat.
- Serve alongside a cheese platter featuring sharp cheddar and creamy brie.
- Garnish with fresh apple slices and a sprinkle of cinnamon for a beautiful presentation.
- Enjoy with a slice of pumpkin pie for the ultimate fall dessert experience.
- Mix with sparkling water for a refreshing, fizzy drink option.
FAQs about Homemade Apple Cider
Can I use any type of apple for homemade apple cider?
Absolutely! A mix of sweet and tart apples works best. Varieties like Granny Smith, Honeycrisp, and Fuji create a well-rounded flavor. The more diverse your apples, the tastier your homemade apple cider will be!
How long does homemade apple cider last?
Your homemade apple cider can be stored in the refrigerator for up to a week. Just make sure to keep it in an airtight container. If you want to enjoy it later, consider freezing it in portions!
Can I make homemade apple cider without sugar?
Yes, you can! If you prefer a more natural taste, feel free to skip the sugar. The apples themselves provide plenty of sweetness, especially if you choose sweeter varieties. Adjust the spices to enhance the flavor instead!
Is it possible to make homemade apple cider in a slow cooker?
Definitely! You can follow the same steps in a slow cooker. Just combine the ingredients and let it cook on low for about 6-8 hours. This method allows the flavors to develop beautifully while you go about your day!
Can I add other fruits to my homemade apple cider?
Yes! Feel free to experiment by adding other fruits like pears or berries. They can add a delightful twist to your homemade apple cider, making it even more unique and flavorful!
Final Thoughts
Making homemade apple cider is more than just a recipe; it’s an experience that brings warmth and joy to your home. The process fills your kitchen with delightful aromas, creating a cozy atmosphere perfect for family gatherings or quiet evenings. Each sip of your homemade apple cider is a reminder of the beauty of fall and the simple pleasures in life. Whether you enjoy it warm by the fireplace or chilled on a sunny afternoon, this cider is sure to become a cherished tradition. So, gather your loved ones, and let the cider-making adventure begin!
Print
Homemade Apple Cider: Enjoy Your Own Delicious Blend!
- Total Time: 2 hours 15 minutes
- Yield: About 1 gallon 1x
- Diet: Vegetarian
Description
A delightful recipe for making homemade apple cider, perfect for enjoying during the fall season.
Ingredients
- 10–12 medium apples, assorted varieties
- 1 cup sugar (optional)
- 1 tablespoon cinnamon
- 1 teaspoon nutmeg
- 1 tablespoon whole cloves
- Water
Instructions
- Wash and core the apples, then cut them into quarters.
- Place the apple quarters in a large pot and add enough water to cover them.
- Add sugar, cinnamon, nutmeg, and cloves to the pot.
- Bring the mixture to a boil, then reduce heat and let it simmer for about 2 hours.
- After simmering, mash the apples with a potato masher to release more juice.
- Strain the mixture through a fine mesh sieve or cheesecloth into a large bowl or pitcher.
- Serve warm or chilled, and enjoy your homemade apple cider!
Notes
- Feel free to adjust the spices according to your taste.
- Store any leftover cider in the refrigerator for up to a week.
- This recipe can be doubled or halved depending on your needs.
- Prep Time: 15 minutes
- Cook Time: 2 hours
- Category: Beverage
- Method: Stovetop
- Cuisine: American
Nutrition
- Serving Size: 1 cup
- Calories: 120
- Sugar: 24g
- Sodium: 5mg
- Fat: 0g
- Saturated Fat: 0g
- Unsaturated Fat: 0g
- Trans Fat: 0g
- Carbohydrates: 30g
- Fiber: 1g
- Protein: 0g
- Cholesterol: 0mg