
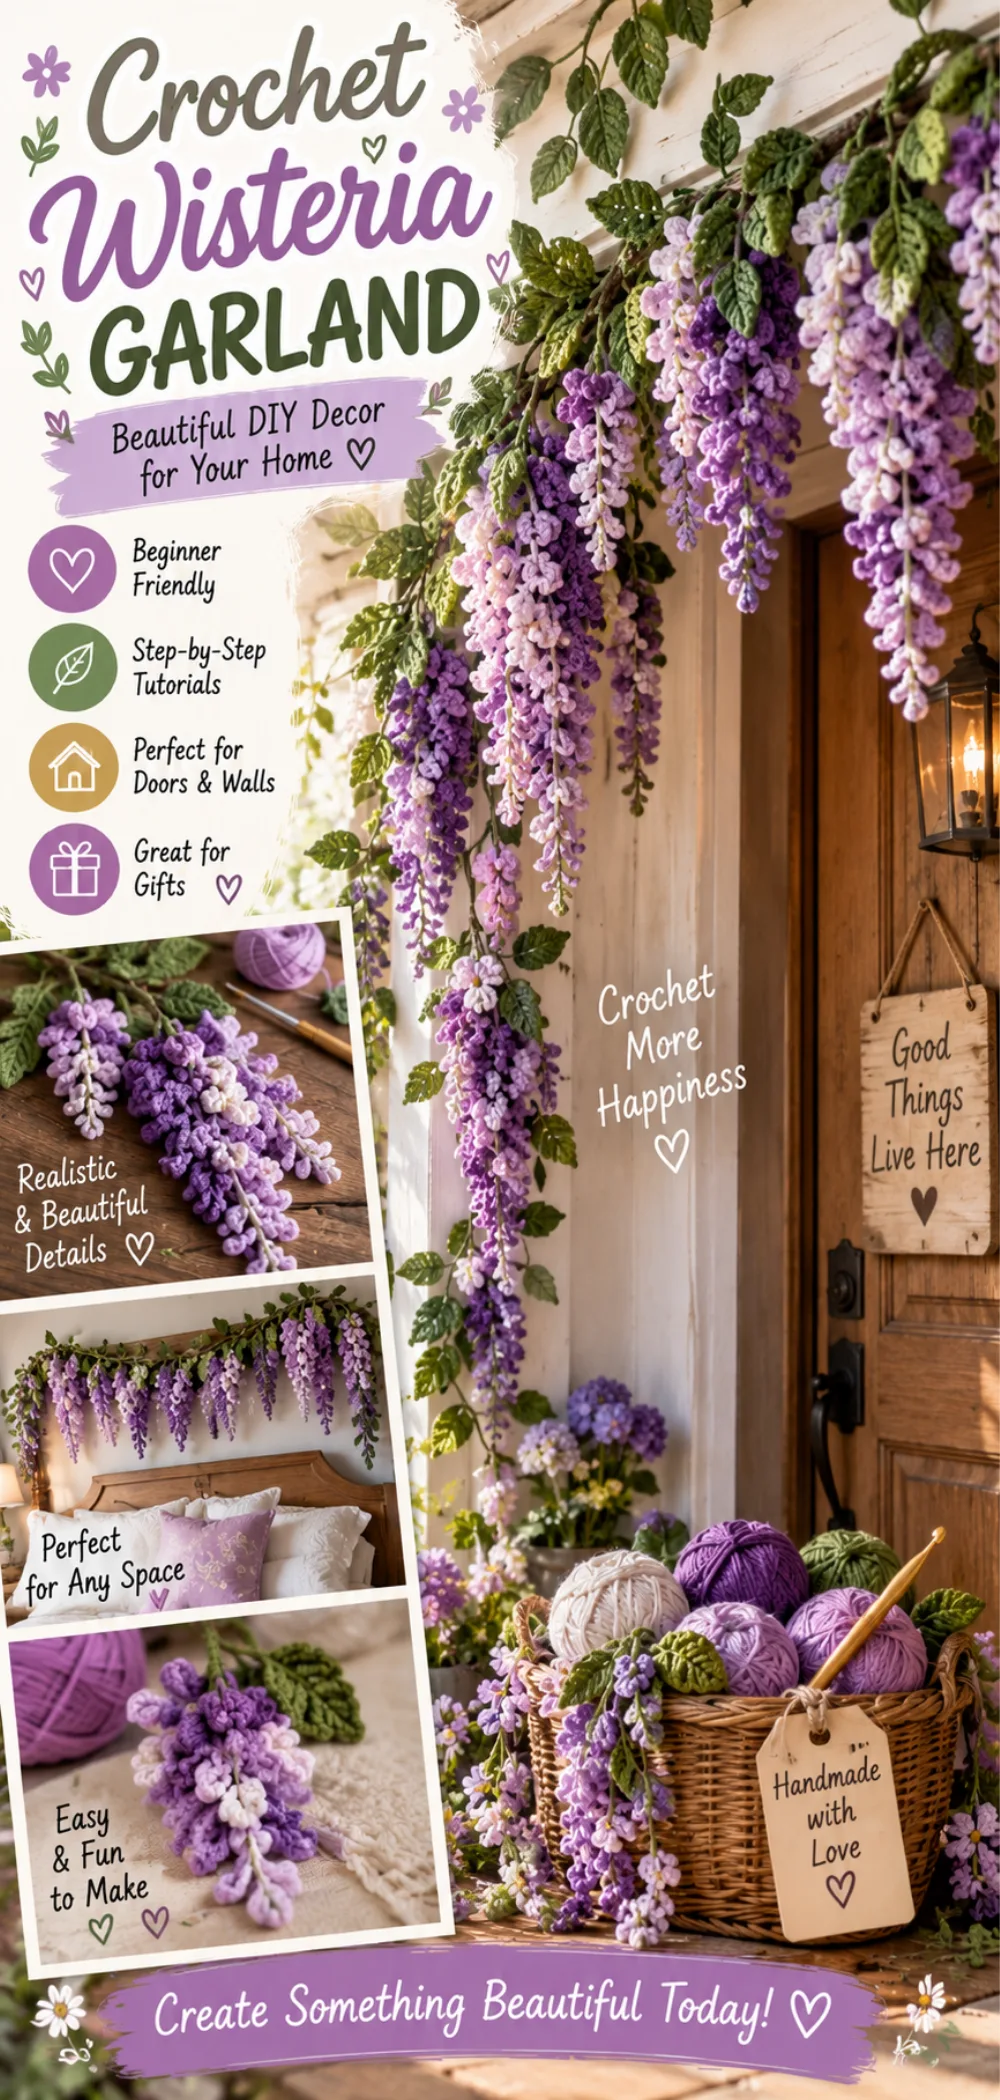
Step-by-Step Instructions for Creating Your Handmade Wisteria Garland
Creating a handmade wisteria garland is a delightful project that allows you to express your creativity. Follow these step-by-step instructions to craft your own beautiful garland. Each step is designed to be clear and straightforward, making it easy for beginners to follow along.
Step 1: Gather Your Materials
Before you start, ensure you have all your materials ready. This will make the process smoother and more enjoyable. You will need:
- Wisteria flowers (artificial or dried)
- Green floral wire
- Floral tape
- Scissors
- Wire cutters
- Twine or ribbon (optional)
Having everything at hand will help you focus on the crafting process without interruptions.
Step 2: Cut the Floral Wire
Using your wire cutters, cut the floral wire to your desired length for the garland. A good starting point is to measure the area where you plan to hang the garland. Remember, you can always trim it later if needed. Make sure the wire is long enough to accommodate the spacing of the flowers.
Step 3: Attach the Wisteria Flowers
Begin attaching the wisteria flowers to the wire using floral tape. Start at one end of the wire and place a flower, securing it with a piece of tape. Make sure to space the flowers evenly along the wire for a balanced look. A good rule of thumb is to leave about 4 to 6 inches between each flower, but feel free to adjust based on your design preference.
As you attach each flower, press firmly to ensure they are secure. This will help prevent them from shifting as you work.
Step 4: Secure the Ends of the Wire
Once all the flowers are attached, it’s time to secure the ends of the wire. Twist the ends of the wire together to prevent the flowers from sliding off. If you have any excess wire, trim it with your wire cutters. Make sure the ends are tucked away to avoid any sharp edges.
Step 5: Add Twine or Ribbon (Optional)
If you want to add a decorative touch, consider wrapping twine or ribbon around the garland. This step is optional but can enhance the overall look. Choose a color that complements your wisteria flowers. Start at one end and wrap it around the wire, securing it with a knot when you reach the other end.
Step 6: Hang Your Garland
Your handmade wisteria garland is now ready to be displayed! Choose a location that will highlight its beauty, such as over a door frame or along a wall. Use hooks or nails to secure it in place, ensuring it hangs evenly. Step back and admire your work!
With these steps, you can create a stunning handmade wisteria garland that adds charm to your home decor.
Introduction / About This Handmade Wisteria Garland
Creating a handmade wisteria garland is a wonderful way to enhance your home decor with a touch of elegance and charm. These garlands can be used to beautify doors, walls, or any space that needs a little extra flair. The versatility of wisteria garlands allows you to customize them to fit your personal style and the aesthetic of your home.
This project is perfect for all skill levels, especially beginners who are looking for a creative outlet. With just a few materials and some simple techniques, you can craft a stunning garland that showcases your artistic flair. The construction process involves attaching artificial or dried wisteria flowers to floral wire, making it easy to create a design that suits your taste.
Feel free to personalize your garland by experimenting with different colors and styles. Whether you prefer soft pastels or vibrant hues, the choice is yours! Let your creativity shine as you design a garland that reflects your unique style and enhances your living space.
IMAGE: A beautifully arranged handmade wisteria garland draped over a door frame, showcasing the delicate flowers and greenery against a soft, neutral background.
ALT: Handmade Wisteria Garland Ideas for Door & Wall displayed on a door frame.
Handmade Wisteria Garland Quick Overview
| Project Details | Information |
|---|---|
| Skill Level | Beginner to Intermediate |
| Crafting Terminology | Floral Crafting |
| Materials Needed | Wisteria flowers, floral wire, floral tape, scissors, wire cutters, twine or ribbon (optional) |
| Approximate Finished Size | Varies based on design |
| Approximate Working Time | 30 minutes |
| Construction Method | Handmade |
| Pattern Type | DIY Floral Decor |
About This Handmade Wisteria Garland
The handmade wisteria garland is a beautiful and versatile decoration that can be tailored to fit any space in your home. This garland is constructed by attaching wisteria flowers to a length of floral wire, which allows for flexibility in design. You can create a long garland that drapes elegantly over doorways or mantels, or opt for shorter pieces that accent specific areas, such as shelves or table centerpieces.
As you work on this project, you will practice essential skills such as floral arrangement and wire manipulation. These skills not only enhance your crafting abilities but also allow you to experiment with different flower placements and arrangements. The process of creating your garland encourages creativity, enabling you to design a piece that reflects your personal style and complements your home decor.
Materials and Supplies
To create a stunning handmade wisteria garland, it’s essential to gather all the necessary materials. Using quality materials will ensure a beautiful finish and enhance the overall look of your garland. Here’s what you will need:
- Wisteria flowers (artificial or dried)
- Green floral wire
- Floral tape
- Scissors
- Wire cutters
- Twine or ribbon (optional)
When choosing between artificial and dried wisteria flowers, consider the impact on the garland’s appearance and durability. Artificial flowers offer vibrant colors and a long-lasting finish, making them ideal for year-round decor. They are also easier to work with, as they maintain their shape and do not require special care.
On the other hand, dried wisteria flowers provide a more natural and rustic look. They can add texture and a unique charm to your garland, but they may be more delicate and require careful handling. Whichever option you choose, ensure that the flowers complement your overall design and color scheme.
IMAGE: A neatly arranged display of all materials needed for the handmade wisteria garland, including flowers, wire, and tools.
ALT: Materials for Handmade Wisteria Garland Ideas for Door & Wall, including flowers and tools.
Best Flowers for Handmade Wisteria Garland
When selecting wisteria flowers for your garland, consider various types that work well for this project. Look for flowers in different shades, such as soft lavender, deep purple, or even white, to create a visually appealing arrangement. Mixing colors can add depth and interest to your garland.
Additionally, consider the texture of the flowers. Some artificial flowers may have a more realistic look with detailed petals, while dried flowers can offer a unique, rustic charm. The choice of flowers will significantly affect the overall aesthetic of your garland, so choose ones that resonate with your personal style and the decor of your space.
Suitable Floral Wire and Tools
For this project, a green floral wire with a gauge of 22 to 24 is recommended. This thickness provides enough strength to support the flowers while remaining flexible enough to shape the garland as desired. Using the right gauge is crucial for ensuring that your flowers stay securely attached and the garland maintains its form.
In addition to floral wire, you will need scissors for cutting the floral tape and twine or ribbon, if you choose to add decorative elements. Wire cutters are essential for trimming the floral wire to the desired length. Having these tools on hand will make the crafting process smoother and more efficient.
Step-by-Step Instructions for Creating Your Handmade Wisteria Garland
Creating a handmade wisteria garland is a delightful project that allows you to express your creativity. Follow these step-by-step instructions to craft your own beautiful garland. Each step is designed to be clear and straightforward, making it easy for beginners to follow along.
Step 1: Gather Your Materials
Before you start, ensure you have all your materials ready. This will make the process smoother and more enjoyable. You will need:
- Wisteria flowers (artificial or dried)
- Green floral wire
- Floral tape
- Scissors
- Wire cutters
- Twine or ribbon (optional)
Having everything at hand will help you focus on the crafting process without interruptions.
Step 2: Cut the Floral Wire
Using your wire cutters, cut the floral wire to your desired length for the garland. A good starting point is to measure the area where you plan to hang the garland. Remember, you can always trim it later if needed. Make sure the wire is long enough to accommodate the spacing of the flowers.
Step 3: Attach the Wisteria Flowers
Begin attaching the wisteria flowers to the wire using floral tape. Start at one end of the wire and place a flower, securing it with a piece of tape. Make sure to space the flowers evenly along the wire for a balanced look. A good rule of thumb is to leave about 4 to 6 inches between each flower, but feel free to adjust based on your design preference.
As you attach each flower, press firmly to ensure they are secure. This will help prevent them from shifting as you work.
Step 4: Secure the Ends of the Wire
Once all the flowers are attached, it’s time to secure the ends of the wire. Twist the ends of the wire together to prevent the flowers from sliding off. If you have any excess wire, trim it with your wire cutters. Make sure the ends are tucked away to avoid any sharp edges.
Step 5: Add Twine or Ribbon (Optional)
If you want to add a decorative touch, consider wrapping twine or ribbon around the garland. This step is optional but can enhance the overall look. Choose a color that complements your wisteria flowers. Start at one end and wrap it around the wire, securing it with a knot when you reach the other end.
Step 6: Hang Your Garland
Your handmade wisteria garland is now ready to be displayed! Choose a location that will highlight its beauty, such as over a door frame or along a wall. Use hooks or nails to secure it in place, ensuring it hangs evenly. Step back and admire your work!
With these steps, you can create a stunning handmade wisteria garland that adds charm to your home decor.
Tips for Personalizing Your Handmade Wisteria Garland
Personalizing your handmade wisteria garland can make it truly unique and tailored to your style. Here are some creative ideas to help you customize your garland:
- Experiment with Colors: Consider using different shades of wisteria flowers to create a vibrant and eye-catching garland. Mixing colors like soft lavender, deep purple, and white can add depth and interest to your design.
- Add Decorative Elements: Enhance your garland by incorporating additional decorative elements. You can add faux leaves, small twinkling lights, or even ribbons that complement the flowers. These accents can elevate the overall look and make your garland stand out.
- Vary the Length: Don’t hesitate to experiment with different lengths for your garland. A long, flowing garland can create a dramatic effect, while shorter pieces can be used as accents in various areas of your home. Consider making multiple shorter garlands to hang in different locations.
- Try Different Arrangements: Play around with the arrangement of the flowers. You can cluster flowers together for a fuller look or space them out for a more delicate appearance. Adjusting the placement can significantly change the overall aesthetic of your garland.
- Incorporate Seasonal Themes: Change your garland with the seasons by using flowers and colors that reflect the time of year. For example, pastel colors for spring, warm tones for autumn, or even festive decorations for the holidays can keep your decor fresh and exciting.
By personalizing your handmade wisteria garland, you can create a beautiful piece that reflects your individual style and enhances your home decor. Let your creativity shine as you explore different combinations and arrangements!
Care and Maintenance of Your Handmade Wisteria Garland
To ensure your handmade wisteria garland remains beautiful and retains its shape, proper care and maintenance are essential. Here are some helpful tips for storing and cleaning your garland, whether you used artificial or dried flowers.
Storing Your Garland
When not in use, store your garland in a cool, dry place to prevent any damage. Here are some specific storage tips:
- Use a Storage Box: Place your garland in a sturdy storage box or container to protect it from dust and potential crushing. Avoid stacking heavy items on top of the garland to maintain its shape.
- Hang It Up: If possible, hang your garland in a closet or on a hook. This method helps prevent any bending or creasing that can occur when the garland is laid flat.
- Avoid Direct Sunlight: Keep your garland away from direct sunlight, as prolonged exposure can cause colors to fade, especially in artificial flowers.
Cleaning Your Garland
Regular cleaning will help maintain the appearance of your garland. Here’s how to clean both artificial and dried flowers:
- For Artificial Flowers: Use a soft, dry cloth or a feather duster to gently wipe away dust. If the flowers are particularly dirty, you can lightly dampen the cloth with water and wipe them clean. Avoid soaking the flowers, as this can damage them.
- For Dried Flowers: Dried flowers can be more delicate, so handle them with care. Use a soft brush or a gentle blow of air to remove dust. If necessary, you can lightly mist them with water to freshen them up, but be cautious not to overdo it, as excess moisture can lead to mold.
By following these care and maintenance tips, you can keep your handmade wisteria garland looking fresh and beautiful for years to come. Enjoy the charm it brings to your home decor!
Conclusion
Creating a handmade wisteria garland is not only a rewarding craft project but also a wonderful way to enhance your home decor. The process allows you to express your creativity while crafting a beautiful piece that can brighten up any space. Whether you choose to use artificial or dried flowers, the end result is sure to bring charm and elegance to your surroundings.
We hope this tutorial has inspired you to embark on your own wisteria garland journey. Don’t hesitate to share your creations and experiences with us! We would love to see how you personalize your garland and the unique touches you add. Happy crafting!
Print
Handmade Wisteria Garland Ideas for Door & Wall – Easy Photo Tutorial
- Total Time: 30 minutes
- Yield: 1 garland
- Diet: Vegan
Description
A creative guide to making beautiful handmade wisteria garlands for decorating doors and walls.
Ingredients
- Wisteria flowers (artificial or dried)
- Green floral wire
- Floral tape
- Scissors
- Wire cutters
- Twine or ribbon (optional)
Instructions
- Gather all materials needed for the garland.
- Cut the floral wire to your desired length for the garland.
- Attach the wisteria flowers to the wire using floral tape.
- Continue adding flowers, spacing them evenly along the wire.
- Once all flowers are attached, secure the ends of the wire.
- If desired, wrap twine or ribbon around the garland for added decoration.
- Hang the garland on your door or wall as desired.
Notes
- Consider using different shades of wisteria for a more vibrant look.
- Store the garland in a cool, dry place to maintain its shape.
- For a more natural look, use dried wisteria flowers.
- Prep Time: 30 minutes
- Cook Time: N/A
- Category: Craft
- Method: Handmade
- Cuisine: N/A
Nutrition
- Serving Size: N/A
- Calories: N/A
- Sugar: N/A
- Sodium: N/A
- Fat: N/A
- Saturated Fat: N/A
- Unsaturated Fat: N/A
- Trans Fat: N/A
- Carbohydrates: N/A
- Fiber: N/A
- Protein: N/A
- Cholesterol: N/A